Easy Photo Box Organisation for Iphone Photos
Raise your hand if you take a million iPhone photos of your kids and have been meaning to print them.
I am going to run you through from start to finish my exact process of printing my iPhone photos from choosing what to print, where to print and how to organise them. But first off let’s talk about why we would print them in the first place.
3 reasons to print your iPhone photos
Could you imagine if something happened to your iCloud and you lost all your photos of your kids 😭 devastating. Technology can be unreliable, it’s always good to have a printed copy as a backup.
It’s nostalgic. I think our generation is used to looking through our parents old photos in random boxes and want the same for our kids when they are older. Personally I love looking back at photos of my family when we were kids.
Holding physical photos is a completely different experience to flicking through thousands of photos on your phone. You can’t beat it.
So let’s dive in…
Step One: Choose what photos to print
We need to decide what photos we are going to print. I recommend tackling this a year at a time. Go to the photos folder on your phone and put your favourite images from the year into a new album on your iPhone.
It doesn’t matter if you think the lighting is bad, or it’s a bit blurry. If it makes you feel something or sparks a nice memory, I say print it. I would however recommend not choosing multiple photos that are only slightly different, try and pick one out of a similar set.
Step Two: Print the photos
You might be overwhelmed with choice and end up not printing, that’s what happens to most people. Out of all the non professional labs I have tried (Kmart, Officeworks, Big W etc) I have found the best quality prints are from Harvey Norman and I always choose their Matt paper (which is more of a satin). It has a beautiful finish without being overly glossy and looking cheap. I print my photos at 6x4 size as they fit into the photo organising box that I bought which I will talk about in the next step, The easiest way to get them printed is to order online through their photo centre. Then you can pick it up or get it posted. It’s seriously cheap. Like 10c per image.
https://www.harveynormanphotos.com.au
Step Three: Get your Photo Box
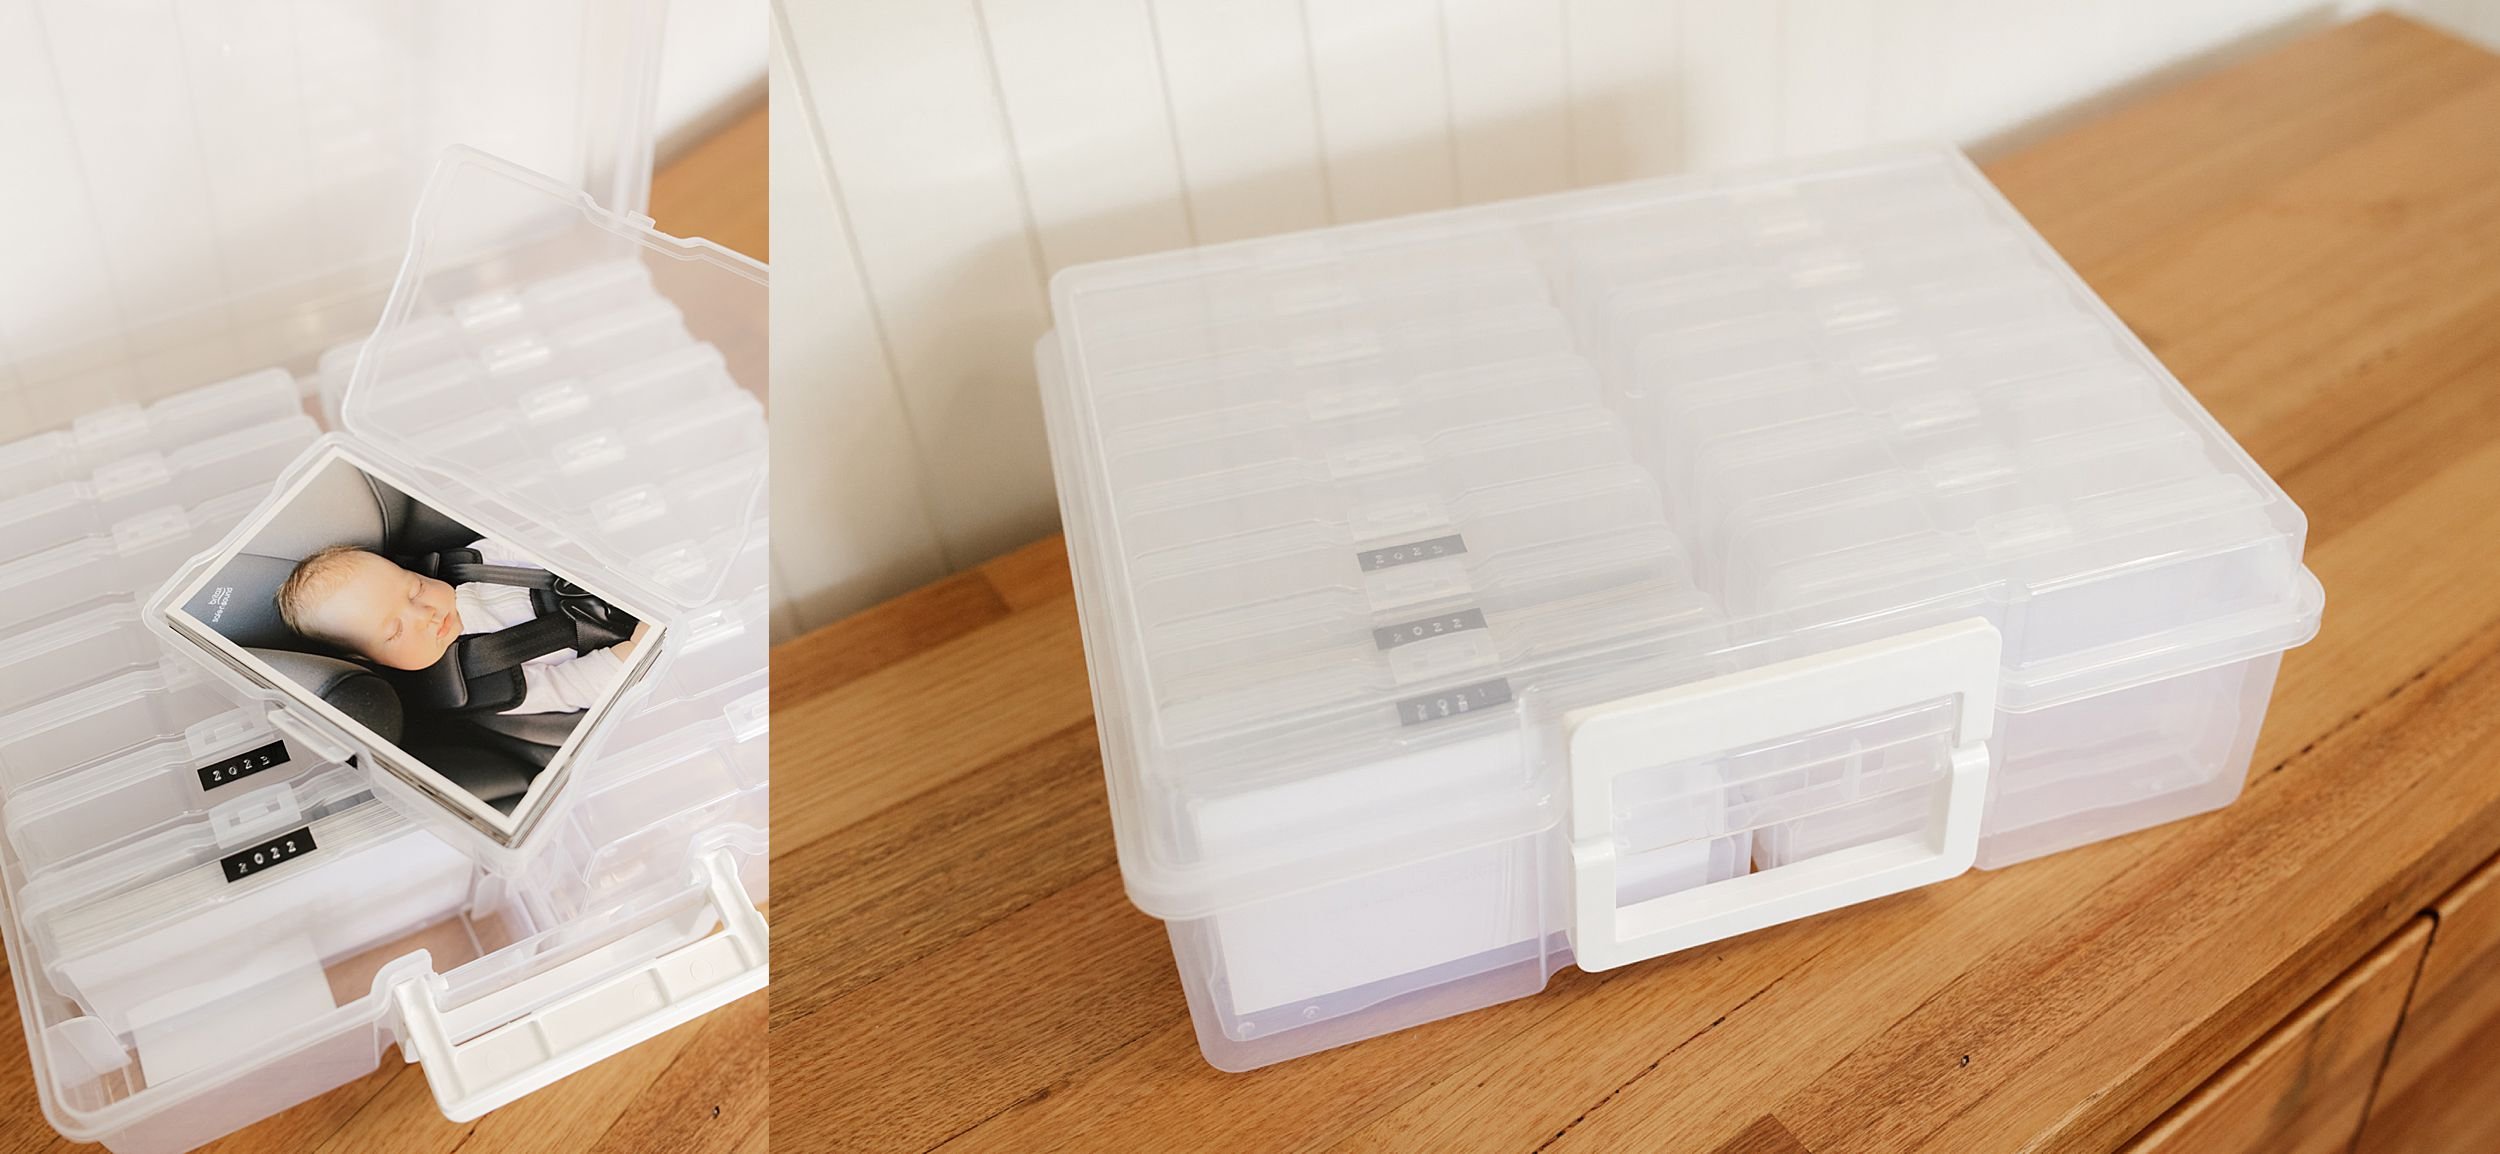
Once you have your images it’s time to get organising. I picked up this awesome photo organiser from my local spotlight. It has 16 photo boxes that are in 1 big box. I also think Kmart stock a similar one. But you can find the one I got HERE.
There are a few ways you can organise your images depending on how many you take. Each box fits about 100 photos max. For mine I’ve decided this is a long term thing and I would like each small box to be my favourites from the year. You could also choose to do a box per big event (eg. Holidays, Birthdays etc)
Step Four: Label Label Label
I like to label each box so I can easily identify the year. I have this embossed Dymo label maker I use. It’s not the best quality and often stuffs up but I just love the minimalistic, rough look of it!
Step Five: Add your photos
Each individual container holds a max of about 100 photos. I don’t put them in any particular order. For extra memory keeping you could write on the back on the photos (with an archival pen) important things you want to remember like the location, date or what is significant about the photo. And that’s it! Congrats! You did it.
TIP: Each month I like to go through my iPhone photos and favourite the best ones from the month so It’s not a big task at the end of year.
I hope this has inspired you to get printing! If you have any questions you can message me on Insta HERE.
Madi x


